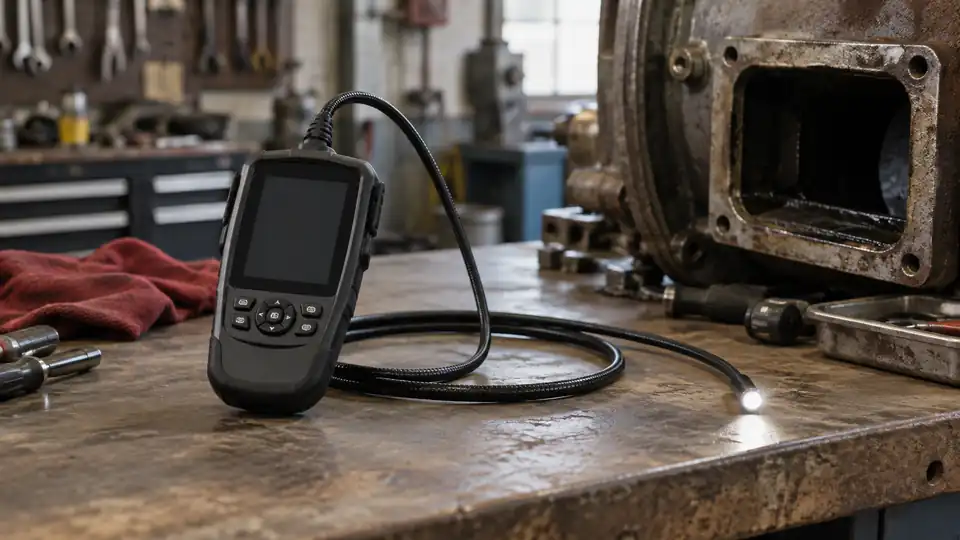
Choosing a borescope starts with the space you need to inspect. A camera that slips through a spark-plug opening may be a poor fit for a long, debris-filled pipe, while a long plumbing probe can feel awkward in a cramped engine bay. The right choice comes from matching the probe, camera head, controls, image quality, and operating limits to the job.
Start With the Inspection Area
Write down the inspection target before comparing features. A cylinder, wall cavity, HVAC duct, drain, appliance, or vehicle frame creates a different set of demands. Measure the access opening if possible, then think about bends, depth, surface conditions, and how much control you will have over the probe.
For example, a narrow opening into an engine may favor a small camera head and close-focus image. A pipe inspection may require more reach and a cable that pushes through bends without folding into loose loops. A wall cavity may need a compact probe with enough flexibility to change direction after entering through a drilled access hole.
| Inspection task | Selection priorities | Potential complication |
|---|---|---|
| Engine or vehicle inspection | Small probe diameter, close focus, adjustable lighting, controlled handling | Reflective metal, carbon deposits, oil-like residue, limited access |
| Plumbing or drains | Reach, pushability, water resistance for the probe where specified, cable control | Bends, standing water, debris, and camera-head friction |
| Wall cavities | Small probe, flexible or semi-rigid shaft, orientation control | Insulation, framing, wiring, and limited room to redirect the camera |
| HVAC ductwork | Reach, lighting control, suitable camera head, manageable cable | Duct bends, branches, dust, insulation, and dampers |
A camera head that physically fits may still be difficult to steer once inside. Clearance is the first filter, but usable control determines whether you can actually place the lens where it needs to go.
Choose the Probe Diameter Carefully
Probe diameter affects access, image size, cable behavior, and durability. A slim probe can enter smaller openings, but its camera head may provide less room for lighting and may feel less robust during a long push. A larger probe may produce a steadier image and stronger cable, but it can stop at the first tight opening or bend.
Measure the narrowest part of the route, not just the entrance. A pipe may have a generous opening followed by a restriction. A vehicle access point may accept the shaft while a bend prevents the camera head from reaching the target. If the probe must pass through an existing hole, compare the manufacturer’s stated camera-head diameter and shaft diameter, since those measurements may differ.
For a simple inspection behind a removable panel, probe diameter may be less critical than image quality and handling. For a spark-plug hole, appliance cavity, or small wall opening, diameter can determine whether the inspection is possible at all. Choose the smallest probe that still offers suitable reach, control, lighting, and image performance for the task.
Match Probe Behavior to the Route
Flexible probes
A flexible probe bends easily and can follow curved paths, which helps in drains, ducts, and irregular cavities. That same flexibility can make the camera tip wander or rotate as you push. If the cable bends into a soft loop behind the camera head, small movements at your hand may produce unpredictable movement at the lens.
Semi-rigid probes
A semi-rigid probe holds some of its shape while still allowing a bend. This can make it easier to aim through a wall cavity or position the camera inside an engine compartment. It may resist a long series of tight bends, so it suits routes where the operator needs moderate directional control rather than a cable that must snake freely.
Articulating probes
An articulating probe uses a control to move the camera tip in specified directions. This differs from a flexible cable, which bends without giving the operator active control over the distal tip. Articulation can help you redirect the view after the probe has entered a chamber, pipe, or cavity.
Two-way articulation generally controls movement across one axis, while four-way articulation controls movement across two axes. Neither feature automatically means the camera can point everywhere without repositioning the shaft. A side-view camera, dual-lens camera, mirror attachment, or rotating probe also solves a different problem and should not be treated as equivalent to articulation.
If the target sits straight ahead, articulation may add cost and bulk without adding much value. If the target is around a corner, behind a fitting, or above the entry path, active tip control can make the difference between a useful view and a frustrating session.
Think About Reach and Cable Control
A longer cable sounds attractive until excess length gathers on the floor, catches on nearby objects, or becomes difficult to push. Reach matters, but so do stiffness, friction, bends, and the amount of control you retain at the camera head. A short, manageable probe may be easier to use in a vehicle or appliance, while a longer probe may be necessary for ductwork or a pipe run.
Consider the route in sections. A mostly straight cavity may tolerate a flexible cable. Several bends may require a cable with enough pushability to transmit hand movement. A long pipe with standing water and debris can place extra stress on the camera head, so physical reach alone does not tell you whether a consumer borescope is suitable.
Plan how the cable will enter and exit the inspection area. If you need to twist the probe repeatedly, look for a design that gives you a clear grip and stable controls. If the camera head must remain pointed in one direction, a semi-rigid shaft or articulating tip may offer better control than a loose flexible cable.
Evaluate the Image for the Job
Image quality depends on several pieces working together. Camera resolution, display resolution, recording resolution, focus, working distance, lighting, surface reflectivity, camera movement, and compression all affect what appears on the screen. A large number in a product description does not guarantee a sharper or more useful inspection view.
Focus is especially important for close work. A camera intended to inspect a nearby piston crown, connector, or pipe wall needs a useful focus range at that distance. A camera that looks clear several inches away may appear soft when pressed close to the target. Check the stated focal or working range if the manufacturer provides it.
Reflective metal, wet surfaces, oily-looking residue, and polished fittings can bounce light directly into the lens. More brightness may create a washed-out patch instead of more detail. Adjustable LEDs are useful because lowering the light or changing the camera angle may reveal texture that disappears under glare.
Digital zoom enlarges captured pixels. It does not recover physical detail that the camera never recorded. A steady probe, clean lens, suitable working distance, and controlled lighting often improve a close-up more than zooming in after the image is saved.
Choose the Display and Connection System
A built-in display keeps the camera ready without relying on a phone, app, wireless connection, or separate adapter. A phone-based system may be convenient for storage and sharing, but physical connector fit does not guarantee software compatibility. USB-C does not automatically work with every device, Lightning does not guarantee compatibility with every iPhone, and Wi-Fi systems may require a particular app or operating system.
Check the complete connection chain before buying. Confirm the supported operating system, required app, permissions, power arrangement, recording method, and whether the phone can remain connected while the probe is being handled. A bright screen can help in a workshop or outdoors, while a compact phone setup may be easier to carry into a tight service area.
Recording is useful when you need to compare areas, show a visible condition to someone else, or revisit an inspection later. Still, a saved video inherits the limits of the camera, focus, lighting, and compression. A recording can preserve what was visible, but it cannot establish a hidden cause or prove a component’s structural condition by itself.
Decide Which Camera View You Need
A forward-facing camera shows what lies along the probe’s path. This suits many engine, appliance, and cavity inspections. A side-view camera looks across the probe axis, which can help examine a pipe wall or duct surface without repeatedly bending the cable toward the side.
A dual-lens camera may provide forward and side views from separate cameras. It does not automatically articulate the probe or let you steer the tip around a bend. A mirror attachment can redirect the view, but it is an optical accessory rather than a second camera. Choose among these options based on whether you need directional control, a different viewing angle, or two camera positions.
Check Environmental Limits Before Purchase
Inspection conditions can be rough on a camera. Water, dust, oil-like residue, cleaning chemicals, heat, pressure, and moving equipment each create separate risks. An IP rating may apply to the probe or camera head rather than the display, battery, connector, or complete system. Read the manufacturer’s stated limits for the part that will enter the environment.
A water-resistant probe is not automatically resistant to fuel, oil, solvents, acids, or heat. It also does not make the entire device safe to submerge. A camera intended for a cool drain should not be assumed suitable for an active flue, hot engine component, energized electrical compartment, or pressurized system.
For automotive work, follow the vehicle’s service procedure and prevent accidental starting before inserting a probe. For machinery, prevent unexpected movement. If a probe meets resistance, stop and reassess the route rather than forcing it past an obstruction or internal component.
Prioritize Features by the Inspection
Feature lists can become noisy fast. A practical priority order keeps the purchase tied to the job.
- Access: Confirm probe and camera-head diameter against the smallest opening and tightest restriction.
- Reach: Estimate the full route, including bends, branches, and the amount of cable needed outside the opening.
- Control: Decide whether a flexible, semi-rigid, or articulating probe gives you enough aim and pushability.
- Viewing direction: Choose forward view, side view, dual-lens, or an accessory based on where the target sits.
- Focus and lighting: Match the camera’s useful working distance and light control to the surfaces you expect to inspect.
- Display and recording: Select a built-in screen or connected device based on how you will view, save, and share findings.
- Environmental protection: Verify the limits for the probe and the rest of the system separately.
- Handling: Look at grip, controls, cable storage, battery arrangement, and how easily you can keep the camera steady.
For a quick engine inspection, access, close focus, lighting, and steady handling may outrank cable length. For a drain or duct, reach and cable behavior may take priority. For a wall cavity, a slim semi-rigid probe and orientation control may be more useful than a high-resolution recording mode.
A Practical Buying Checklist
Before selecting a borescope, answer these questions:
- What is the smallest opening the camera must pass through?
- How far must the camera travel from the access point to the target?
- Will the route contain tight bends, branches, debris, or standing water?
- Does the probe need to hold a shape, bend freely, or actively articulate?
- Will the target sit directly ahead, to the side, or around a corner?
- Is close focus more important than viewing a distant area?
- Could glare from metal, water, or residue affect the image?
- Do you need a built-in display, phone connection, photos, video, or simple live viewing?
- Which part of the device has the stated water or dust protection?
- Will the inspection involve heat, pressure, chemicals, energized equipment, or moving machinery?
The best borescope is the one that reaches the target, gives you enough control to position the camera, and produces a view you can interpret without guessing. Start with the access route and inspection conditions, then select image features and recording options that support that physical task. A feature that looks impressive on a box has little value if the probe cannot reach the area or the camera cannot be aimed once it gets there.
